Are you tired of the same floors? Want to give your place character and resilience? Just consider plywood flooring! This affordable and versatile alternative is popular with homeowners and interior designers. Plywood flooring can turn any room into a luxurious retreat with its rustic look and various treatments. Today, Dubai Curtain will guide you regarding its installation procedure for favorable outcomes. So grab your tools, and let’s get going!
What Factors Affect the Longevity of Plywood Flooring?
Durability is a crucial consideration when selecting any flooring, including plywood flooring. But what makes plywood flooring so resilient? Let’s examine more closely the factors that contribute to its durability.
- The plywood’s composition plays a significant role in determining its durability. Multiple layers of wood veneer adhere perpendicularly to one another to form plywood. This cross-grain construction helps accurately distribute weight across the surface, reducing the likelihood of fracturing or splitting over time.
- Moreover, plywood is renowned for its durability and stability. The layers are bonded with strong adhesives to create a substantial and robust structure. Consequently, it is more resistant to impact damage than other flooring materials.
- In addition, appropriate installation techniques can significantly improve the durability of plywood flooring. Before installing the plywood panels, it is essential to ensure that the subfloor is spotless, level, and devoid of moisture. Using rivets or fasteners to properly secure each sheet will prevent movement or shifting over time.
- An adequate coating protects against wear and tear. Whether you choose paint or stain as your finish, you must ensure that it is designed specifically for floor use and provides adequate resistance to blemishes and spillage.
By considering these installation considerations – composition, strength, and stability – you can maximize the durability of your plywood flooring investment!
Before Installing Things To Consider
Before installing and completing plywood flooring, assembling the required materials and equipment is essential. Here is a list of necessities:
- Carefully measure your floor area and purchase enough plywood sheets to cover it. Choose high-quality plywood with a minimum thickness of three-quarters of an inch for durability.
- To accurately cut the plywood, you’ll need a dependable saw. A circular saw is optimal for linear cuts, whereas a jigsaw can be used for intricate or curved cuts.
- The measuring tape and pencil will allow you to measure and mark the dimensions of the plywood sheets before you cut them.
- Choose nails or screws to secure the plywood to the substructure, depending on your preference.
- A drill facilitates the insertion of fasteners into wood, while a hammer is appropriate for driving in nails.
- Apply this adhesive between each layer of plywood during installation to increase stability and prevent creaking.
- Sandpaper or sanding machine: After installing the plywood, you will need sandpaper or, preferably, an electric sander to level out any uneven edges before applying the finish.
Remember that these are only a few necessary items for installing and completing your plywood flooring!
Step 1: Cutting and Measure the Plywood
Before installing plywood flooring, it is essential to accurately measure and trim the plywood. This procedure will guarantee a correct fit and seamless completion. Here is what must be done:
- Gather your equipment. You will need a measuring tape, stylus, straightedge, T-square, and a circular or jigsaw with a fine-toothed blade.
- Carefully measure the dimensions of the room. Beginning with one wall, measure it from corner to corner. Then, proceed clockwise or counterclockwise along each wall until you have measurements for all sides.
- Transfer these measurements using a stylus and a straightedge to the plywood sheets using these measurements as a guide. Check your measurements twice before making any incisions.
- Now it’s time to cut the plywood along your marked lines. For smooth cuts with a circular saw, set the depth slightly deeper than the thickness of the plywood sheet.
- Exercise caution when cutting near them to avoid damaging walls or obstacles such as pipelines or cabinets.
- Remember that accuracy is crucial during this phase, as any mistakes can impact the subsequent installation of your flooring.
Step Two: Subfloor Preparation
- Make sure the subfloor is good before putting it in plywood. A stable subfloor will sustain your plywood flooring.
- Remove carpets and linoleum. Use a pry bar or scraper to remove and dispose of old flooring. Wear gloves and glasses throughout this treatment.
- After removing the previous flooring, the substructure should be examined for any damage or unevenness. If any boards or fasteners are loose or protruding, secure them with screws or replace them if necessary.
- Next, vacuum the subfloor thoroughly to remove dust and detritus. Any grime or debris left behind can hinder the plywood’s ability to adhere to the surface.
- Consider using a floor leveling compound to create a clean, even surface. This can help conceal any imperfections or low locations on the subfloor.
- Before proceeding with the plywood installation, apply a layer of gesso to the entire subfloor. This will improve adhesion and prevent moisture damage.
Following these steps to properly prepare the substructure will set you up for success when installing the plywood flooring!
Step Three: Plywood Installation
- After cutting the plywood and preparing the subfloor, install it. This step is crucial for a solid, leveled floor.
- Applying a thin coating of construction glue to the subfloor using a trowel or roller. Be cautious about following manufacturer application guidelines.
- Next, carefully set each plywood piece on the glue, leaving no gaps.
- Be aware of doors and ducts when moving about. Before placing plywood, measure and cut.
- Even after placing all components, use a level to guarantee flatness. Shims may be used to level uneven regions.
Take breaks and keep a consistent tempo during this operation. Taking care of each step will give you a long-lasting plywood floor!
Fourth Step: Applying the Finish
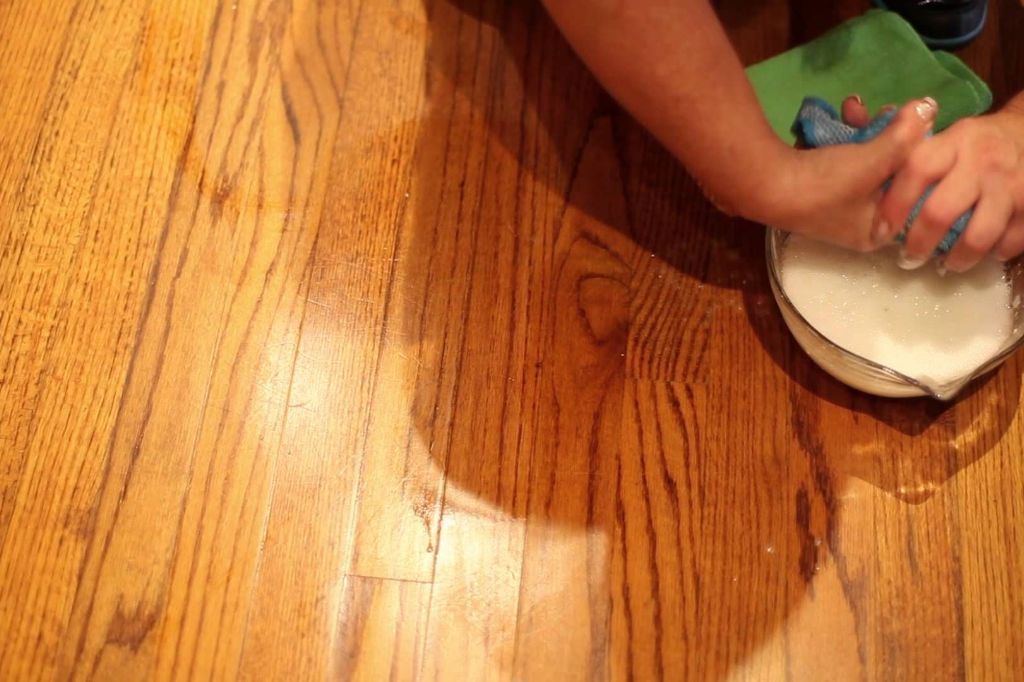
- After installing plywood flooring, maintain and enhance it. Finishing your floor improves its look and longevity.
- Make sure the plywood is clean before finishing. A brush or vacuum can clean the surface.
- Select the coating that best suits your requirements and tastes. You may color your floor using polyurethane, varnish, oil-based treatments, or paint.
- Apply thin finish coats with a brush or roller for long strokes along the wood’s grain. Dry each coat before applying the next. This will help achieve a professional appearance.
- After applying multiple coatings and achieving the desired level of coverage, allow ample curing time before pacing on the floor or repositioning furniture.
Having completed these stages, congratulations! You have installed and completed your plywood flooring with success. You will enjoy its attractiveness and serviceability for many years!
To Conclude
Installing plywood flooring can be a fun and affordable method to enhance a space’s durability and appearance. Is the time to get your tools and install beautiful plywood flooring in your room. With persistence, you can create a stunning floor that adds value and character to every area. Have fun designing something unique using plywood flooring!