The curtain’s hem is the folding of the bottom edges that helps in avoiding fraying and gives it a proper finish. In this article, We are going to describe two main methods of hemming curtains with or without sewing. For your DIY project, we have made it simple to use curtains by using any technique.
Curtains Hemming With Or Without Sewing | A Perfect DIY Guide
Curtain hemming is necessary to avoid thread-shedding when you buy the new fabric material for crafting a curtain by yourself. For ready-made curtains, there is no need to hem the curtains because their edges are already hemmed by manufacturers. Moreover, this technique adds a proper finish to your curtain appearance. Regarding curtain hemming, we have also enlisted the basic tools and materials required for both DIY methods.
Way 1: Hemming Curtains Without Sewing
To hem curtains without sewing, we utilize two general techniques– hem and measure the curtains while hanging and hem the curtains before hanging. In a former technique, we take measurements and fuse the edges after hanging.
Materials That You Will Need
- Hemming Tape
- Curtains To Hem
- Scissors
- Iron & Table
- Sewing Pins
- Measuring Tape
- Marker For Marking
(Without Hanging Curtains)
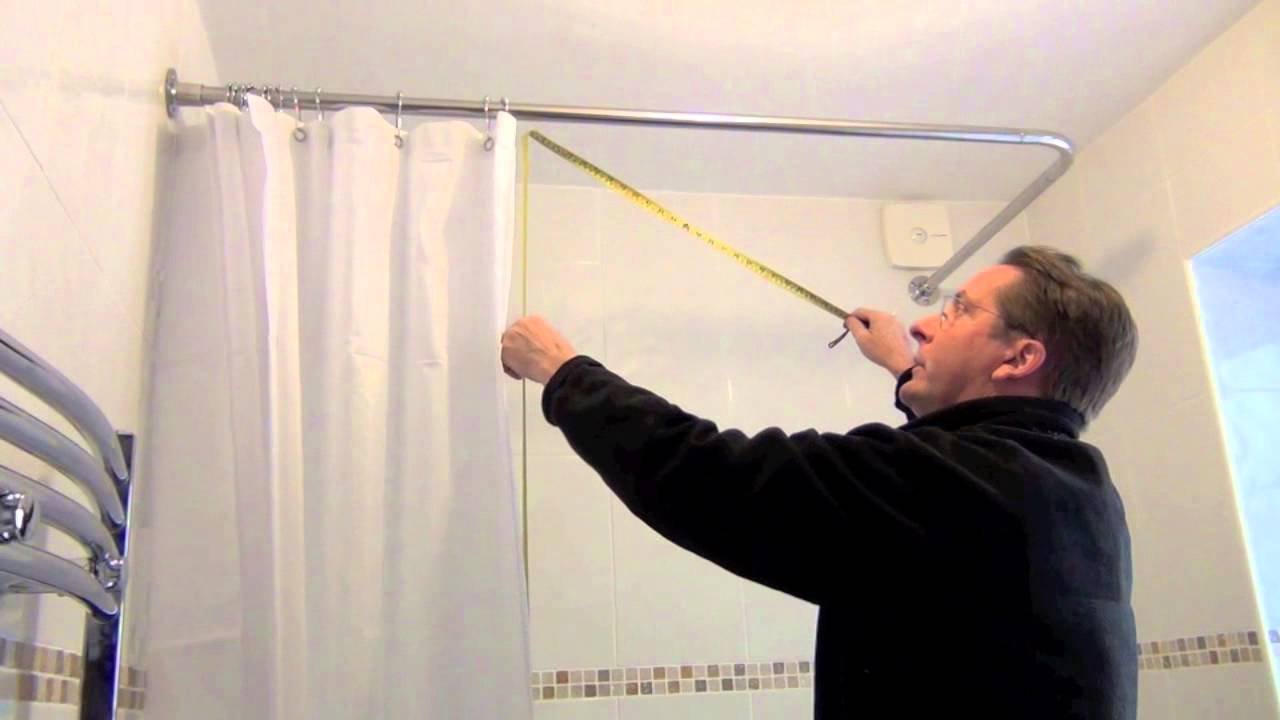
Step 1: Measure The Dimensions Of Curtains
In the first step, we need to take appropriate measurements for window curtains before hanging. Using a measuring tape to measure the length from the position of the curtain rod to the position where your curtain will touch. Similarly, we take the width between the both-sided edges of the window by utilizing the measuring tool.
Step 2: Add Some Extra Inches
After taking initial measurements, you need to do some technical work before finalizing the curtain’s length and width. You should take the measurements twice to reduce the error factor and get precise values. Now add a further 2 inches to the taken values to hem the curtain sides. If your curtains have a lining, then you should also consider the lining length to hem and fold.

Step 3: Cut The Extra Length Of Curtains
If your curtains are longer than required, then you don’t need to add an extra 2 inches in measurements. For perfect cutting, place the curtain on the plain table and mark the precise cutting edge with a pen. After marking the line, make sure that it is completely straight. Take a scissor to cut along the marked line carefully.
Step 4: Fold Out The Edges Of Curtains Hem
Firstly, you will fold out the bottom edge of the curtain by 1 inch and press it with iron. Do this turn again by the second 1 inch of the bottom and press it. After turning twice, you need to use the fusing tape on the turned edges per specific instructions. Apply iron heat on the fixed tape to make it more fastened and sticky on the hem edge.
Step 5: Hang The Curtains To Window
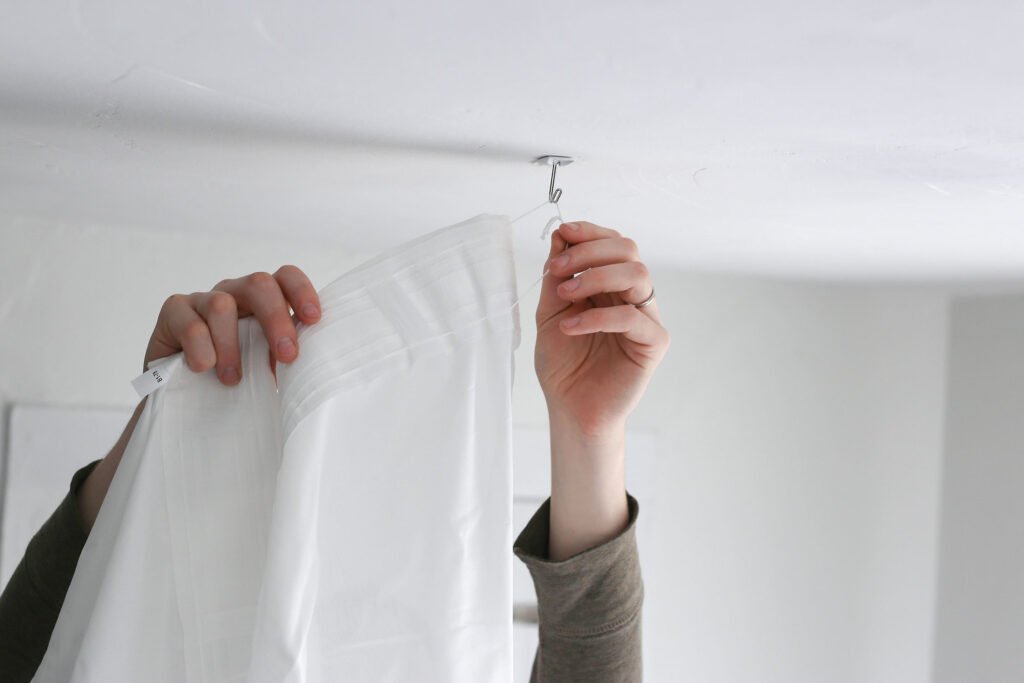
After crafting a perfect hem in curtains, now you can hang these curtains to your window. If your curtains have a grommet header, you can easily pass the curtain rod through the header eyelets. Fix this curtain rod to the already installed bracket on the top border of your window.
(With Hanging Curtains)
Step 1: Hang The Curtains And Mark Hem Portion
In this method, we will hang the curtains before hemming the edge. After hanging, mark the desired length of the curtain where we want to hem it with sewing pins. Attach all the sewing pins at 5-6 inches intervals along the bottom of the curtain.
Step 2: Left Some Space Below The Marked Line
It must be ensured that the area below the marked line has at least 2 inches of space for folding. Make the first fold of 1 inch and press it with iron by inserting it on a closely placed plain table. Similarly, make a second fold of 1 inch and press it with the iron to secure its turn.
Step 3: Apply The Fusing Tape On Folds
This final step is important to accomplish this DIY project. Place a hemming or fusible tape on the folded edges to prevent the turn back of the folds. Leave the curtains from the table to hang freely in front of the window.

Way 2: Hemming Curtains With Sewing
In this way of hemming, we need to sew the curtain’s bottom edges with a sewing machine. All the initial steps are the same but at the end, you need to sew the hem portion instead of inserting fusing tape.
Materials That You Will Need
- Sewing Machine
- Curtains To Hem
- Measuring Tape
- Sewing Pins
- Scissors
- Matching Thread
- Iron and Ironing Table
Step 1: Take & Adjust The Curtain’s Measurements
Take appropriate curtain measurements using a measuring tape. After finalizing the curtain’s dimensions (length and width), you need to consider the type of curtain fabric. For sheer or thin-fabric curtains, you should narrow the hem by 2 inches. In case you want to widen the hem for these curtains, add 5 to 8 inches.

Step 2: Cut & Fold Out The Curtains Edges
For lengthy curtains, you can cut the curtain edge by 5 inches. Before cutting the edge, you should mark a straight line along the curtain’s edge for a perfect cutting. After cutting the edge, make a fold of 1 inch first then press it with an iron by placing it on a plain surface. Again make a fold of 4 inches and then press it with iron again.
Step 3: Stitch The Top Fold Of Curtain Edge
This important step requires technical skills to stitch the folded edge of the curtain. For stitching, always prefer the back side of the curtain to avoid visible seams and stitching points on the front. Stitch the top fold by 1⁄8 inch with the sewing machine or by hand stitching. After stitching, you can press the hem portion again to remove wrinkles and seams.
Final Words!
To conclude this article, hemming the curtains is not a burdensome DIY project. It requires a step-by-step guide to achieve this goal in a very short time. Dubai Curtain has described both the ways in detail for your ease and better understanding. We have also crafted a list of obligatory materials or tools to start this handy work.