
The most beautiful furniture often has a history of prior owners and is modeled and weathered, indicating the strength of handmade goods. Unfortunately, the cost of these vintage items might be high. Instead, recreate the vintage appearance yourself to have all the charm without the cost.
Antiquing furniture is a pretty affordable technique; all you need are the right tools and a big enough room. The correct amount of paint and stain may change almost any piece of furniture into a gem with a vintage feel. Here at Dubai Curtain, we will learn the steps to antique the furniture by using the paint and stain!
Things You Will Need to Change Your Old Furniture
Here are the following things that you need to collect before antiquing the custom furniture:
- Furniture Piece: Pick the furniture item you want to antique; it might be a dresser, table, or an old wooden chair.
- Safety Gear: To protect from dust, fumes, and chemicals, wear safety goggles, a dust mask, and gloves.
- Sandpaper: Different grits for sanding the furniture’s area.
- Tack Cloth: To wipe away dirt and dust after sanding.
- Primer: A high-quality wood primer.
- Paint: Pick a base coat color and an antiquing color, water type of paint is more straightforward to work with.
- Stain: An oil-based wood stain for antiquing.
- Paintbrushes: Various sizes for different stages of painting.
- Rags: For blending and wiping off more stains.
- Clear Adhesive: A water-based polyurethane or wax to save your furniture item.
- Paint Tray and Liner: For your ease, you should have the tray and liner.
- Drop Cloths: To protect your work area.
10 Steps to Antique Furniture By Using The Paint And Stain
These are the following steps that will definitely help you to antique your furniture are as follows:
Step 1. Organize Your Workplace
Before starting, set up a well-breezy and neat workplace. Ensure that you are easily able to reach all of your items and lay down the drop cloths to protect your floor. Wearing your safety equipment should be your top preference before proceeding to the next step.
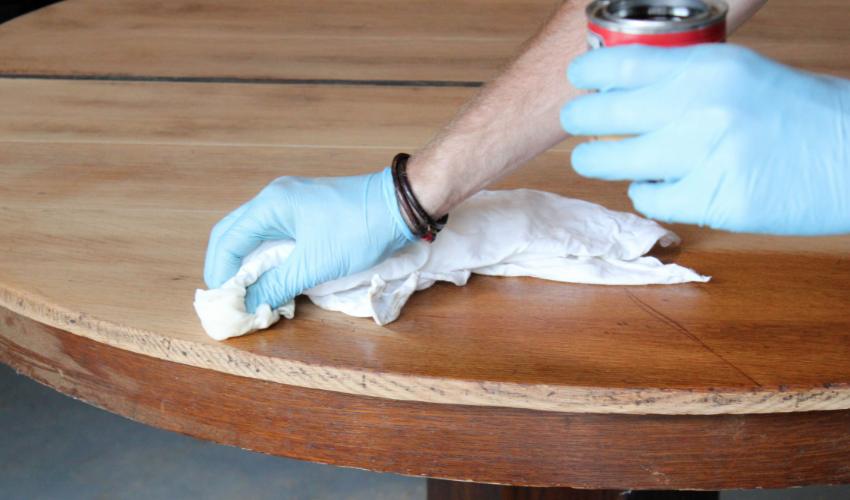
Step 2. Remove Hardware and Clean the Furniture
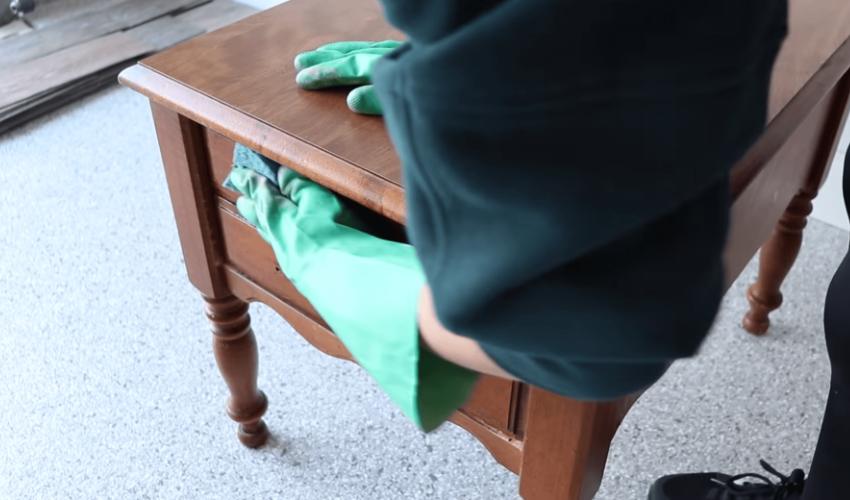
Remove all the hardware such as any knobs, handles, or other hardware from your furniture piece. Clean the complete surface with a piece of a moist cloth to eliminate the dust and crud, this will ensure a smooth painting process.
Step 3. Sand The Furniture
Use coarse sandpaper of around 80 grit to roughen up the surface of the furniture. This step helps the primer to stick nicely. Follow up with finer sandpaper around 120 grit for a smoother finish, consistently sand in the order of the wood grain.
Step 4. Apply The Primer
Apply a thin and consistent coat of wood primer to the complete piece of furniture. Then let it dry thoroughly as directed by the manufacturers. This step provides a good base for your paint.
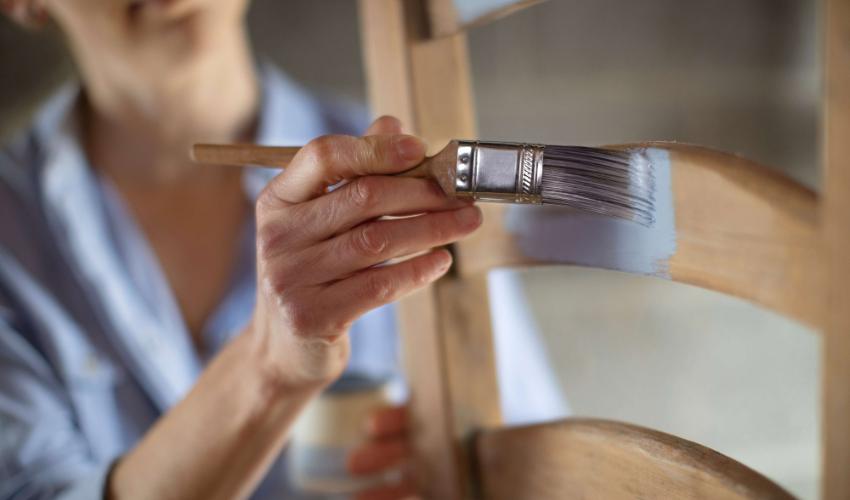
Step 5. Paint The Base Coat
Pick a base coat that complements the antiquing color you plan to use. Apply more than one coat of the base colors, allowing each coat to dry properly. You don’t need to worry about perfection, some imperfections can be improved by the antique look.
Step 6. Distress the Paint
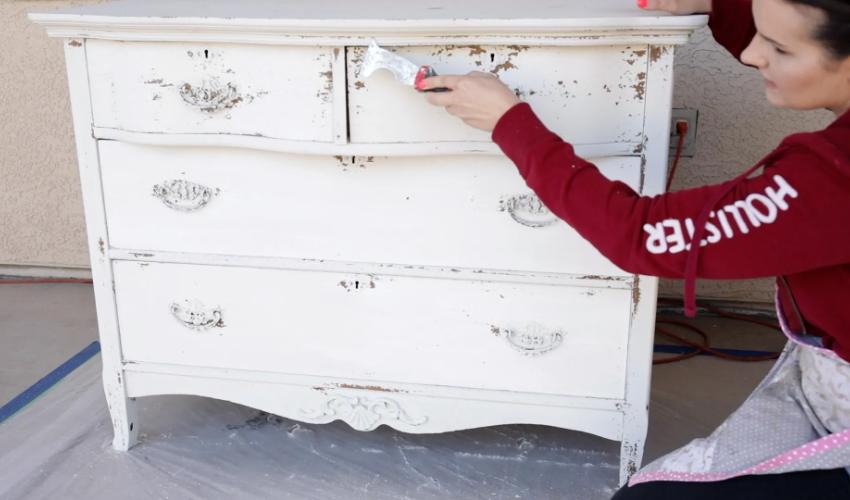
Once the base coat is dry, use sandpaper to distress the surfaces of the furniture that would naturally wear over time, such as edges, corners, and raised details, this creates a weathered look.
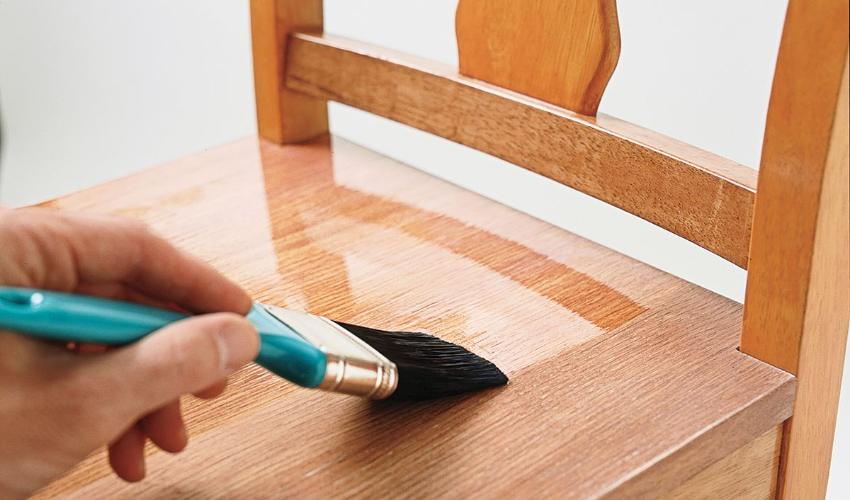
Step 7. Apply the Antiquing Stain
Now comes the magic step of using a brush or a rag, now it’s time to applying the antique stain on the painted surface. Work in small parts, letting the stain settle into the distressed areas and wood grain. Wipe away more stains with a clean cloth to get the desired level of aging.
Step 8. Create Depth with Additional Staining
To improve the antique effect, you can add depth by applying additional layers of stain to particular areas, keep remember to focus on corners, edges, and any nooks and crannies.
Step 9. Seal the Finish
Once you’re satisfied with the antiquing effect, let it dry completely. Then, seal the finish with a clear water-based polyurethane or wax. This will protect your newly antiqued furniture and give it a slight shine.
Step 10. Reattach Hardware
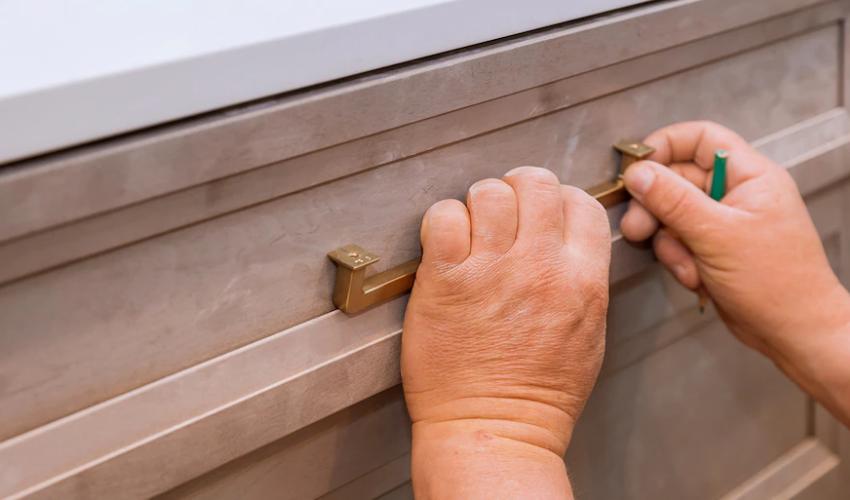
Reattach the hardware to your piece of furniture when the glue has set. Your antique furniture is now prepared to be placed in your house, enhancing the decor with a touch of endless beauty and character.
Closing Thoughts!
Using paint and stain on old furniture is a great way to give old items new life or give something new a hint of vintage appeal. Ordinary furniture may be changed into exceptional items that tell a story with the correct materials and a little time and effort. To get the desired vintage effect, don’t be afraid to have fun with colors and antiquing methods. This procedure may be entertaining and satisfying, regardless of your own expertise level!